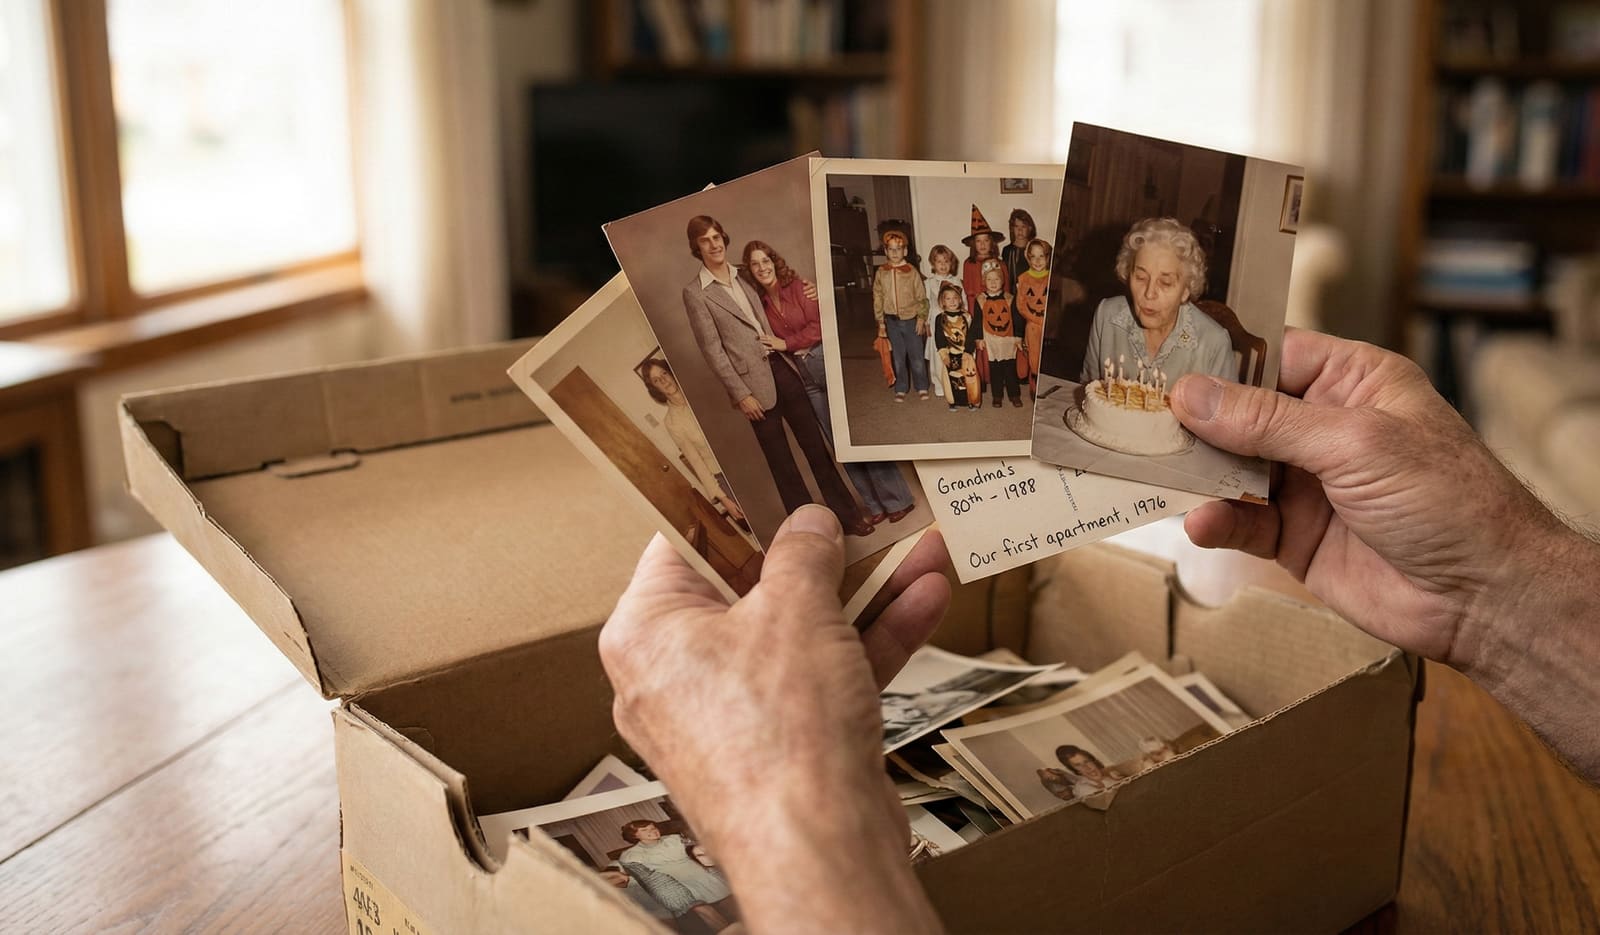
Scanned one already? Drop it in and see what Phossil reads from it.
To scan old family photos well: handle the prints by their edges with clean, dry hands, scan at 600 DPI (higher for slides and negatives), capture the backs of any prints that carry writing or stamps, save masters in a lossless format, and keep more than one copy. That is the whole method. The rest of this guide walks through each step, and through the question most scanning guides skip: what you are left with when the scanning is done.
Somewhere in your house there is a box of prints that exists in exactly one copy. Scanning is how that stops being true. It is not difficult, and you do not need professional gear. But a few settings and habits separate a scan that preserves the photo from a scan you will redo in ten years.
Part 1: Before You Scan
The scanning session is the most handling those prints have had in decades. Set up so the session itself does no harm.
- Clean, dry hands. Skin oils can mark a print permanently. Wash and dry your hands before you start, and handle prints by their edges. For negatives and slides, clean cotton or nitrile gloves are worth using.
- A clean, flat surface. No food, no drinks, no direct sun on the working pile.
- Remove the hardware. Rubber bands, paper clips, and sticky notes all damage prints over time. Take them off as you go, and keep the stack's original order. Which photos sat next to each other is evidence about when they were taken.
- Never force stuck photos. Prints stuck to each other or to glass will tear if pulled. Stop and set them aside; a photo conservator can often separate them safely.
- Go gently with magnetic albums. The self-stick albums common in the 1970s and 1980s hold prints against adhesive that stiffens with age. A length of dental floss slid under a corner will often release a print without tearing it. If a print resists, scan it in place through the album's plastic rather than forcing it.
- No automatic feeders. Old, curled, or brittle prints do not belong in a document feeder. Flatbed glass or a phone camera only.
Never write on a print with ink to label it. If you must mark a back, use a soft pencil, lightly, at the edge. Better: put the label in the scan's file name instead.
Part 2: Choosing How to Scan
There are three realistic routes, and the right one depends on how many photos you have and how much of the work you want to do yourself.
| Method | Best for | The tradeoff |
|---|---|---|
| Flatbed scanner | The photos that matter most; fragile or valuable prints | Highest quality and full control, but slow going print by print |
| Phone scanning app | Working through hundreds of prints; albums you cannot empty | Convenient and surprisingly good, but watch for glare and soft focus |
| Scanning service | Thousands of loose prints and no time to do it yourself | The originals leave your house while the work is done |
A flatbed gives you even lighting, no glare, and full say over resolution. A phone app is the practical choice for volume: hold the phone square over the print, turn off the overhead light that causes glare, and let the app find the edges. The scan you actually make is worth more than the better scan you never get around to.
Mail-in services box up your prints and ship them to a facility. The digitizing is real, but so is the custody question: those prints exist in one copy, and they spend the whole queue away from home. We put the two philosophies side by side in Phossil vs Legacybox.
Some scanning apps bundle the scan into an album subscription. What that buys you, and what it does not, is the subject of Phossil vs Photomyne.
Part 3: DPI and File Format
Resolution is the setting people get wrong most, usually by scanning too low and finding out years later. The rule: the smaller the original, the higher the DPI.
| Original | Scan at | Why |
|---|---|---|
| Standard prints (3x5 to 8x10) | 600 DPI | The common archival recommendation; leaves room to crop and enlarge |
| Small prints (wallet size and smaller) | 1200 DPI | A small original needs more resolution to hold the same detail |
| Slides and negatives | 3000 to 4000 DPI | The frame is tiny; dedicated film scanners typically work in this range |
| Documents and clippings | 300 to 400 DPI | Enough for legible text; clippings are acidic, so scan them early and store them separately |
If you only ever want same-size reprints, 300 DPI on a standard print is enough. But storage is cheap and rescanning is not; 600 DPI is the setting you will not regret.
File format
- TIFF is lossless and is the archival standard. Large files, nothing thrown away.
- JPEG at high quality holds what most families need at a fraction of the size. It gives up a little detail each time the file is edited and re-saved, so treat your first scan as the master and make copies to edit.
- A sensible split: TIFF masters for the photos that matter most, high-quality JPEG for the rest.
Scan in color, even when the print is black and white. The tone of the paper and the character of any fading are information, and a color scan can always be converted later. A grayscale scan cannot be converted back.
Part 4: Scan the Backs
The back of a print is often the most informative surface in the box, and it is the one most scanning projects throw away.
- Handwriting. Names, places, and dates in a relative's hand. Once the print is scanned front-only, that writing stops traveling with the image.
- Lab date stamps. Many labs printed the processing date on the back or front border of prints, especially from the 1970s through the 1990s. When legible, that stamp is often the single strongest clue to the year. Our guide to dating 1990s and 2000s photos covers how to read them.
- The paper itself. The manufacturer's logo printed on the back of photo paper changed over the decades, so even a back with no writing can bracket a range of years.
The habit that makes backs useful: keep each back paired with its front. Name the front 12a and its back 12b, and the pair can never drift apart. Phossil's bulk import recognizes exactly this naming and keeps each back attached to its front automatically.
Part 5: Naming and Backing Up
Do not try to invent the perfect naming scheme up front. Batch first, refine later.
- One folder per box or album, named for where it came from: blue-album-grandma, shoebox-attic-2. Provenance is data.
- Number within the batch in the order you found them. The sequence of a roll or an album page is evidence about when the photos were taken; keep it.
- Do not stop to research each photo. A scanning session that turns into a research session is a scanning session that never finishes.
Then protect the files. The standard is the 3-2-1 rule: three copies, on two different kinds of storage, with one copy somewhere else, so no single failure or single house can take everything. Our preservation guide covers backup routines, and what to do with the physical originals once the scans exist. Short version: the prints still matter. Keep them cool, dry, and dark.
Part 6: What Scanning Does Not Solve
When the last batch is done, you will have something the box never was: a copy that cannot fade, held in more than one place. That is a real achievement. Now open the folder.
Four hundred files named shoebox-attic-2_117.jpg. No dates. No names. No order beyond the order of the box. Scanning answered one question, whether the images survive, and left the others exactly where they were: When was this taken? Who is this? How do these four boxes fit into one story?
This is the part most scanning projects discover at the end. Mail-in boxes come back digitized, not organized. App scans pile into a camera roll. The shoebox has simply become a folder, searchable by nothing.
That second half of the work is what Phossil was built for. Drop the folder in and it reads the evidence in each scan: the clothing, the cars, the print borders, the paper. Each photo gets a dated range with a confidence band, never a fake exact year, and the collection assembles itself into one timeline you can browse by decade, place, and person. Both comparison pages show where the scanning routes stop and this part begins: Phossil vs Legacybox for mail-in scanning, Phossil vs Photomyne for scan-and-album apps.
Try it on your own scans: Upload your first 100 photos and watch them fall into place on a timeline. No credit card required.
Part 7: DIY, Mail-In, or Done For You
Which route fits which family:
- Scan it yourself when the collection is up to a few hundred prints, or when the thought of the originals leaving the house settles it for you. A flatbed for the treasures, a phone app for the volume.
- Use a mail-in service when you are facing thousands of loose prints, the work will not otherwise happen, and you are comfortable shipping the originals. Read the comparison first so you know what comes back and what still will not be done.
- Have it done for you when it is a whole-house job. Phossil's white-glove service picks up your boxes, digitizes everything, and returns every original, insured and tracked door to door, with the archive organized and dated when it arrives. It runs as a small regional pilot; you can request a pickup on the page.
Quick Reference: Scanning Checklist
Before:
- Hands washed and dried; gloves for negatives and slides
- Clean flat surface, no food or drink, out of direct sun
- Rubber bands and clips removed; original order kept
- Stuck photos set aside, not forced
During:
- Prints at 600 DPI; small prints at 1200; film at 3000 or higher
- Color mode on, even for black and white
- Backs scanned whenever anything is written or printed there
- Fronts and backs paired: 12a, 12b
After:
- One folder per box or album, named for its source
- Three copies, two kinds of storage, one offsite
- Originals stored cool, dry, and dark
- Scans organized and dated, so the folder becomes an archive
Common questions
What DPI should I scan old family photos at?
Scan standard prints at 600 DPI. That captures the detail in the paper and leaves room to crop or enlarge later; 300 DPI is enough if you only want same-size reprints. Small originals need more: scan wallet-size prints at around 1200 DPI, and slides or negatives at 3000 DPI or higher on a film scanner.
Should I scan the backs of old photos?
Yes, whenever anything is written or printed there. Names, dates, lab stamps, and even the photo paper's printed logo carry information the front cannot. Scan the back in the same session as the front and keep the two files paired, for example 12a for the front and 12b for the back.
Is a phone scanning app good enough for old photos?
For most family collections, yes. A flatbed scanner captures more tonal detail and avoids glare, so use one for the photos that matter most. A phone app is the practical tool for working through hundreds of prints, and a scan you actually make is worth more than a better scan you never get around to.
Should I save scans as TIFF or JPEG?
TIFF is lossless and is the standard for archival masters, but the files are large. A JPEG saved at high quality holds what most families need at a fraction of the size. If you have the storage, keep a TIFF master of your most important photos and use high-quality JPEG for everything else.
Is it safe to mail photos to a scanning service?
Most shipments arrive and return without trouble, but your originals do leave your house, and one-of-a-kind prints cannot be replaced if a box goes missing. If that risk sits badly with you, scan at home instead, or use a service that picks up and returns your boxes with tracking and insurance.
What should I do after scanning old family photos?
Scanning preserves the image, but the files still need organizing: which decade each photo belongs to, who is in it, and how the collection fits together. That is separate work from scanning. Phossil reads the visual evidence in each scan and returns a date range with a confidence band, so an unlabeled folder of scans becomes a browsable family timeline.