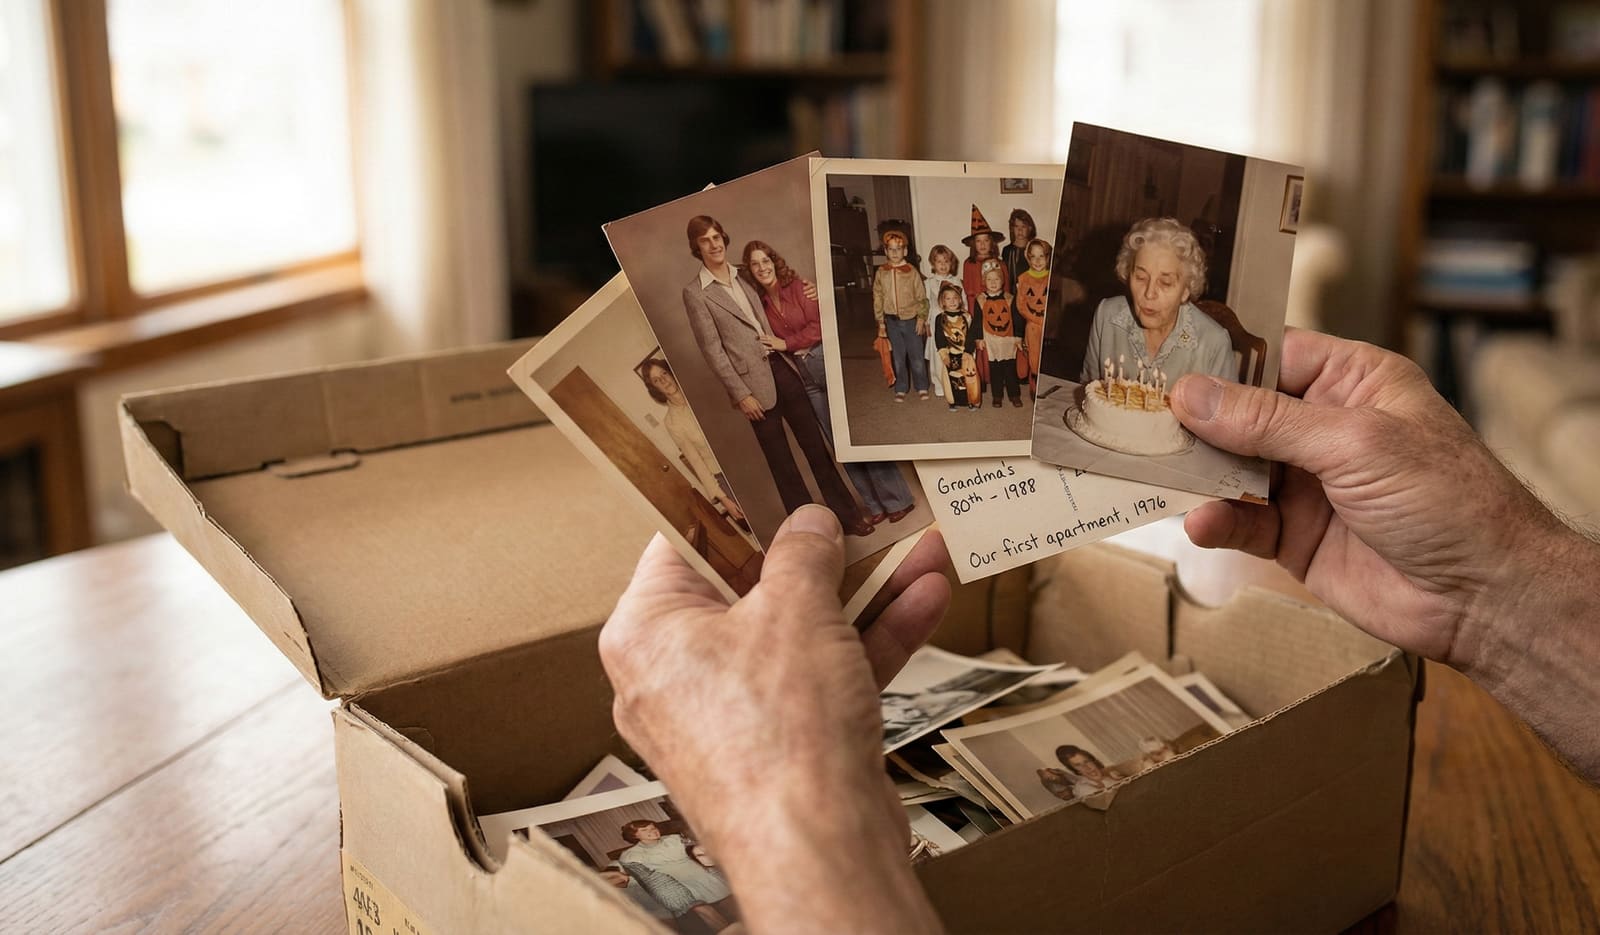
A scan carries the picture forward. Drop one in and see what Phossil reads from it.
Preserving old family photos means protecting both the physical prints and making safe digital copies, so the images and the stories behind them survive for the next generation. The prints in your closet are one flood or one fire away from gone. This guide walks through five simple steps to keep them safe, and how to make a backup you fully control.
You do not need special training or costly gear. You need clean hands, a cool dry spot, a way to scan, and a habit of keeping more than one copy. Start with the photos that matter most and work outward from there.
Why do old family photos fade and get lost?
Photographs are more delicate than they look. A handful of everyday forces quietly wears them down:
- Light: Bright light, and sunlight most of all, slowly bleaches the colors and the detail out of a print.
- Heat and humidity: Warm, damp air makes prints curl, stick together, and grow mold. Attics and basements are the two worst places for this.
- Acid: The acid in cheap paper, old cardboard, and many older albums seeps into the print and yellows it from the edges in.
- Handling: Fingerprints, folds, tape, and glue all leave marks that are hard to undo.
- A single copy: This is the big one. A shoebox of prints in one house is one flood, fire, or leaky pipe from being gone for good.
None of these happen overnight, which is why they are easy to ignore. The good news is that each one has a simple answer, and the five steps below cover all of them.
How do you preserve old family photos?
Preservation is really two jobs at once: keep the original prints safe, and make a digital copy that can outlive them. These five steps do both.
Step 1: Handle them safely
Before you sort or scan anything, handle each photo with care.
- Start with clean, dry hands. The natural oils on your skin can stain a print over time.
- Hold each photo by its edges. Try not to touch the front of the image.
- Skip the tape, glue, rubber bands, and paper clips. They all leave marks and stains.
- If a photo is folded or curled, unfold it slowly. If it resists, stop and leave it flat, then ask a photo restorer for help.
Gentle handling costs nothing and prevents damage you cannot reverse later.
Step 2: Store them right
Where you keep your prints matters as much as how you hold them. Photos last longest somewhere cool, dark, and dry.
- Keep them out of the attic and the basement, where heat, damp, and floods do the most harm. A closet in the living space is usually far safer.
- Store prints in acid-free boxes and sleeves. Plain "photo-safe" is not enough; look for the words acid-free or archival.
- Avoid plastic that contains PVC, which can trap moisture and off-gas onto the print. Choose sleeves made of polyester, polypropylene, or polyethylene instead.
- Keep the room steady. Big swings between hot and cold, or wet and dry, are hard on prints.
Archives like the U.S. Library of Congress recommend a cool, dry, and dark spot for storing family photographs. It is the single most protective choice you can make for the originals.
Step 3: Make a digital copy
A digital copy is your insurance. If a print is ever lost, torn, or faded, the scan carries the picture forward.
- Scan at home when you can. That way your originals never leave the house and never risk getting lost in the mail.
- Use good, even light. A flatbed scanner works well, and a careful phone photo in soft, flat light can also do the job.
- Capture the detail. Scan at a high resolution so you keep the fine texture of the image, and save the full-size original file, not just a small shrunken copy.
- Do the fragile ones first. Start with the prints that are already fading or curling, since they have the least time left.
Once a photo is scanned, the image is no longer trapped in a single fragile object. That is the moment it becomes truly durable.
If you are weighing a scanning app for this step, we put the two approaches side by side: Phossil vs Photomyne.
Step 4: Back them up
One copy is not a backup. A single shoebox, or a single phone, is one accident away from empty. The simplest rule to remember is 3-2-1.
The 3-2-1 idea: keep three copies of each photo, on two different kinds of storage, with one copy somewhere else. For example: your computer, an external drive, and a trusted online archive.
The point is that no single event can wipe out everything. If a drive dies or a laptop is stolen, the other copies still hold your family's pictures. Check on your copies now and then, because a backup you never verify is only a hope.
Step 5: Label and organize
A preserved photo that no one can find or date is only half saved. Names and dates are part of the picture's story, and they are the first thing lost when a generation passes.
- Write down who is in each photo, where it was taken, and roughly when, while someone still remembers.
- On the back of a print, use a soft pencil or a slip of acid-free paper. Never use a ballpoint pen or marker, which can bleed through and press dents into the image.
- For scans, add names and dates to the files so you can search your whole collection later.
Dating an old photo can be tricky when there is no writing on the back. Our guide on how to date old photographs walks you through the clues, from clothing and format to the objects in the background.
How does Phossil help you preserve your photos?
Phossil is built to make the last three steps easy, while your original prints stay right where they are.
- You scan at home. Your photographs never leave your hands. You can read exactly how your photos are handled before you upload a single one.
- Phossil dates and organizes your scans. A box of loose, undated prints becomes one searchable archive and a family timeline you can actually explore. Because Phossil reads many clues in each image, it can even place undated photos in time, including the 1990s and 2000s snapshots that many tools skip.
- You can export your originals for free at any time. Your backup is never held hostage, so you always keep a copy you control.
Phossil is buy once, so you are not renting your own memories year after year. You can see what is included on our pricing page.
Common questions
How should I store old photos so they last?
Keep them somewhere cool, dark, and dry. Use acid-free boxes and sleeves, and avoid attics, basements, and plastic that contains PVC. Handle prints by the edges with clean, dry hands, and never use tape or glue.
What is the 3-2-1 backup rule?
The 3-2-1 idea means you keep three copies of each photo, on two kinds of storage, with one copy somewhere else. That way no single flood, fire, or failed drive can erase your family's pictures.
Should I scan my old photos or send them away?
Scanning at home is the safest choice, because your originals never leave your hands. The digital copy is your insurance. If you mail originals to a service, you accept the small risk that comes with shipping irreplaceable prints.
Do digital photos last on their own?
Not on their own. Files can be lost when a phone breaks, a drive fails, or an account closes. Digital photos last when you keep more than one copy in more than one place and check on them now and then.
Can I get my original photos back from Phossil?
Yes. You can export your photos from Phossil for free at any time. Your backup is never held hostage, so you always keep a copy you control.